Backup on NFS shares
Portworx Backup now allows you to add your Network File System (NFS) shares as a backup target. This feature enables you to leverage your existing NFS storage infrastructure to back up and restore your application data. Portworx Backup supports NFS backup location based on NFSv4.
NFS server prerequisites
- Ensure that read and write permissions are enabled for the required NFS shares for Portworx Backup to reach those shares.
- Make sure that standard port 2049 is open for Portworx Backup to communicate with the NFS server.
Sample NFS server configuration
On NFS share for granting access to non-root user:
Create a non-root user in the NFS server if the user does not exist.
Update
/etc/exportsconfiguration file on the NFS server:<export path> <allowed_host(s)>(<comma separated mount options>)Example:
/mnt/nfsshare xx.xx.xx.xx(all_squash,anonuid=1001,anongid=1001,rw,sync)Where
1001is the user ID of the non-root user created in step 1.Provide the ownership to the non-root user:
chown -R <UID>:<GID> <NFS share/mount_path>Example:
chown -R 1001:1001 /mnt/nfsshareExport directories to NFS clients and restart the NFS server:
sudo systemctl restart <daemon_name>
sudo exportfs -a
Create NFS backup
To create a backup on NFS share as the backup location:
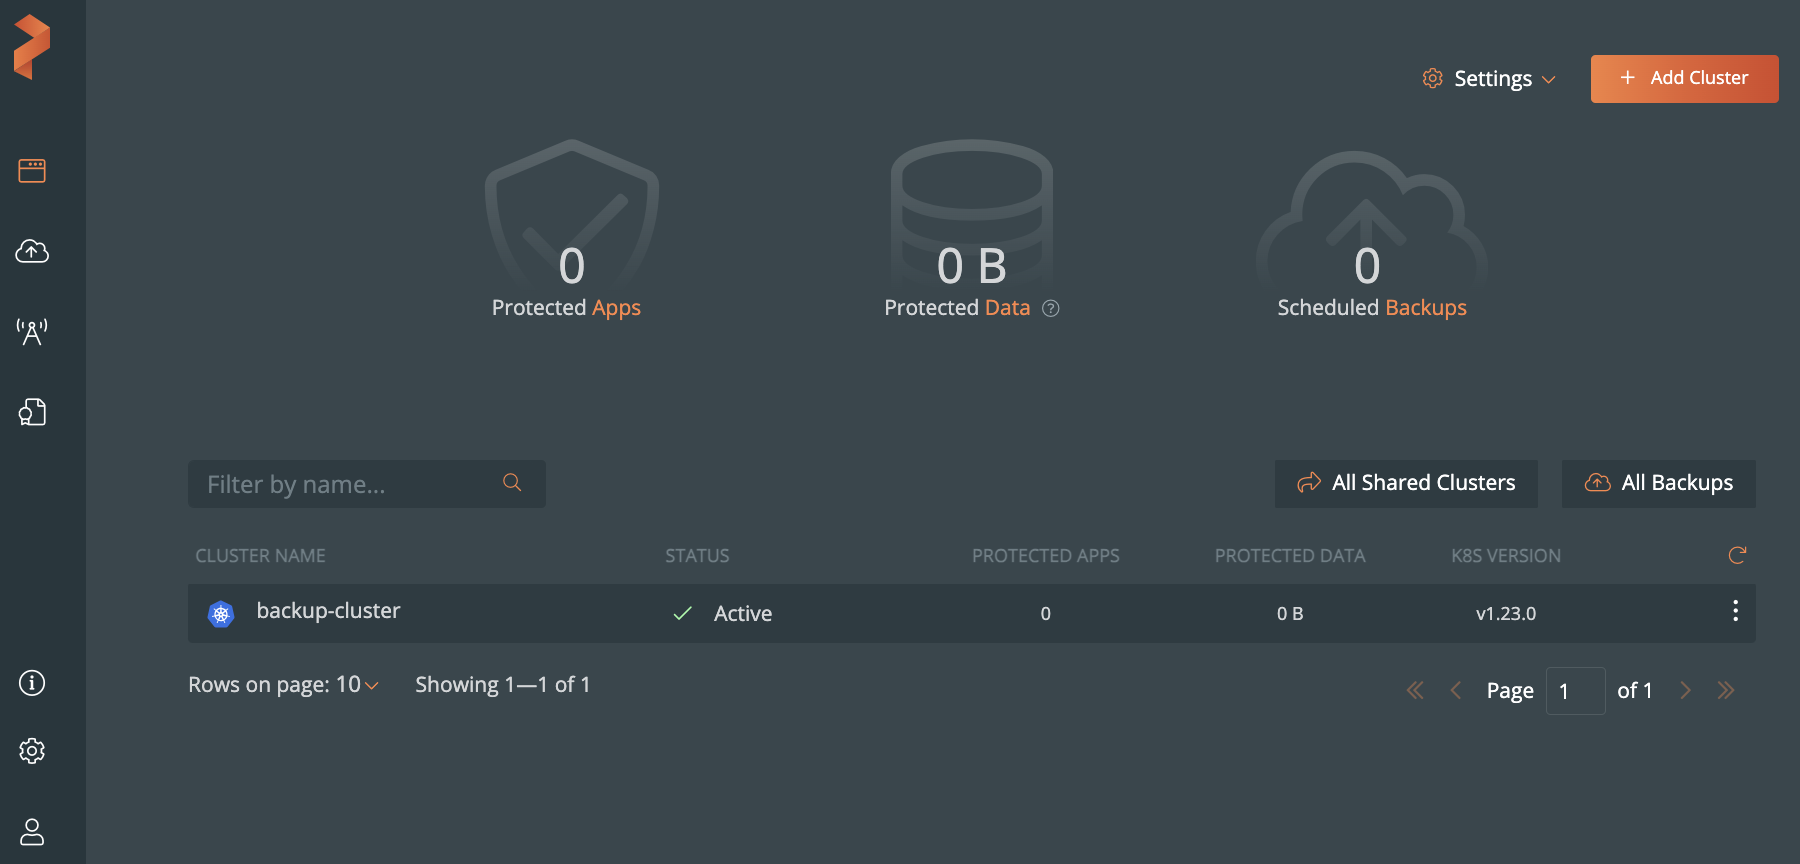
From the home page, navigate to the application cluster to create backup of required application(s).

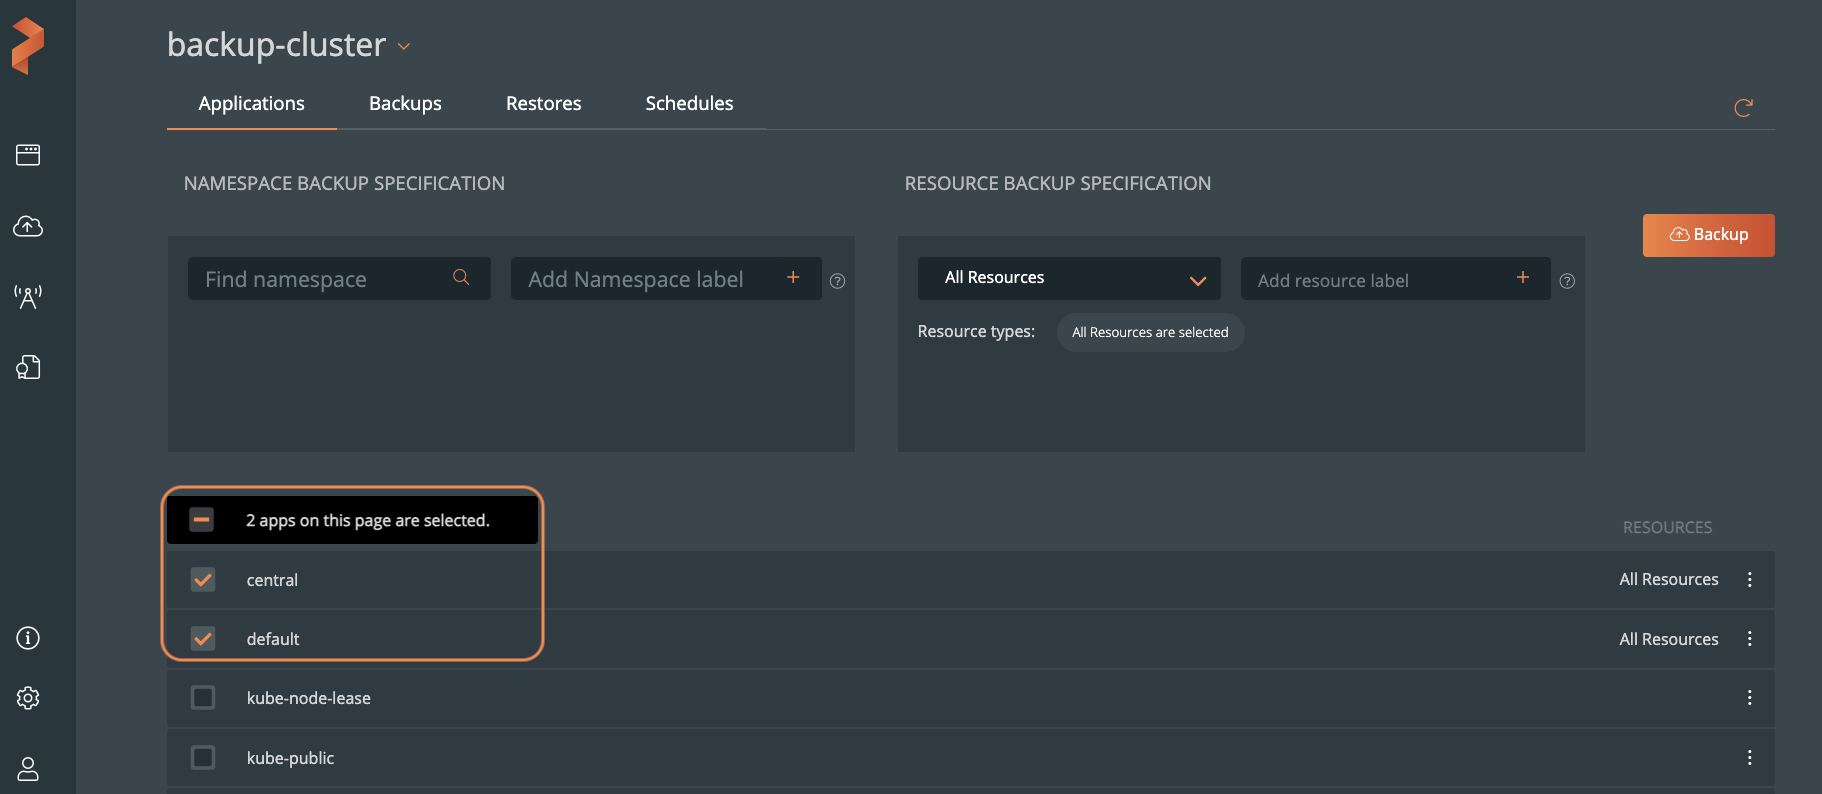
In the application cluster’s Applications tab, select the application(s) you want to back up and then click Backup:

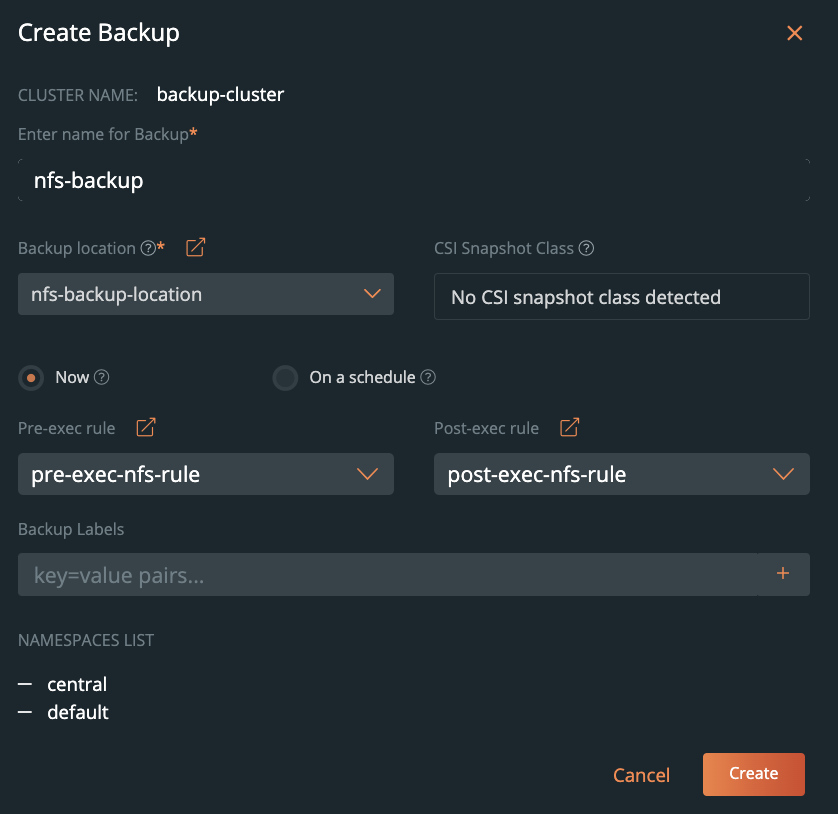
In the Create Backup window, specify the required fields.
Ensure you choose the NFS share based backup location from the Backup location drop-down and click Create.
 note
noteBackup location drop-down displays only the successfully validated NFS backup locations.
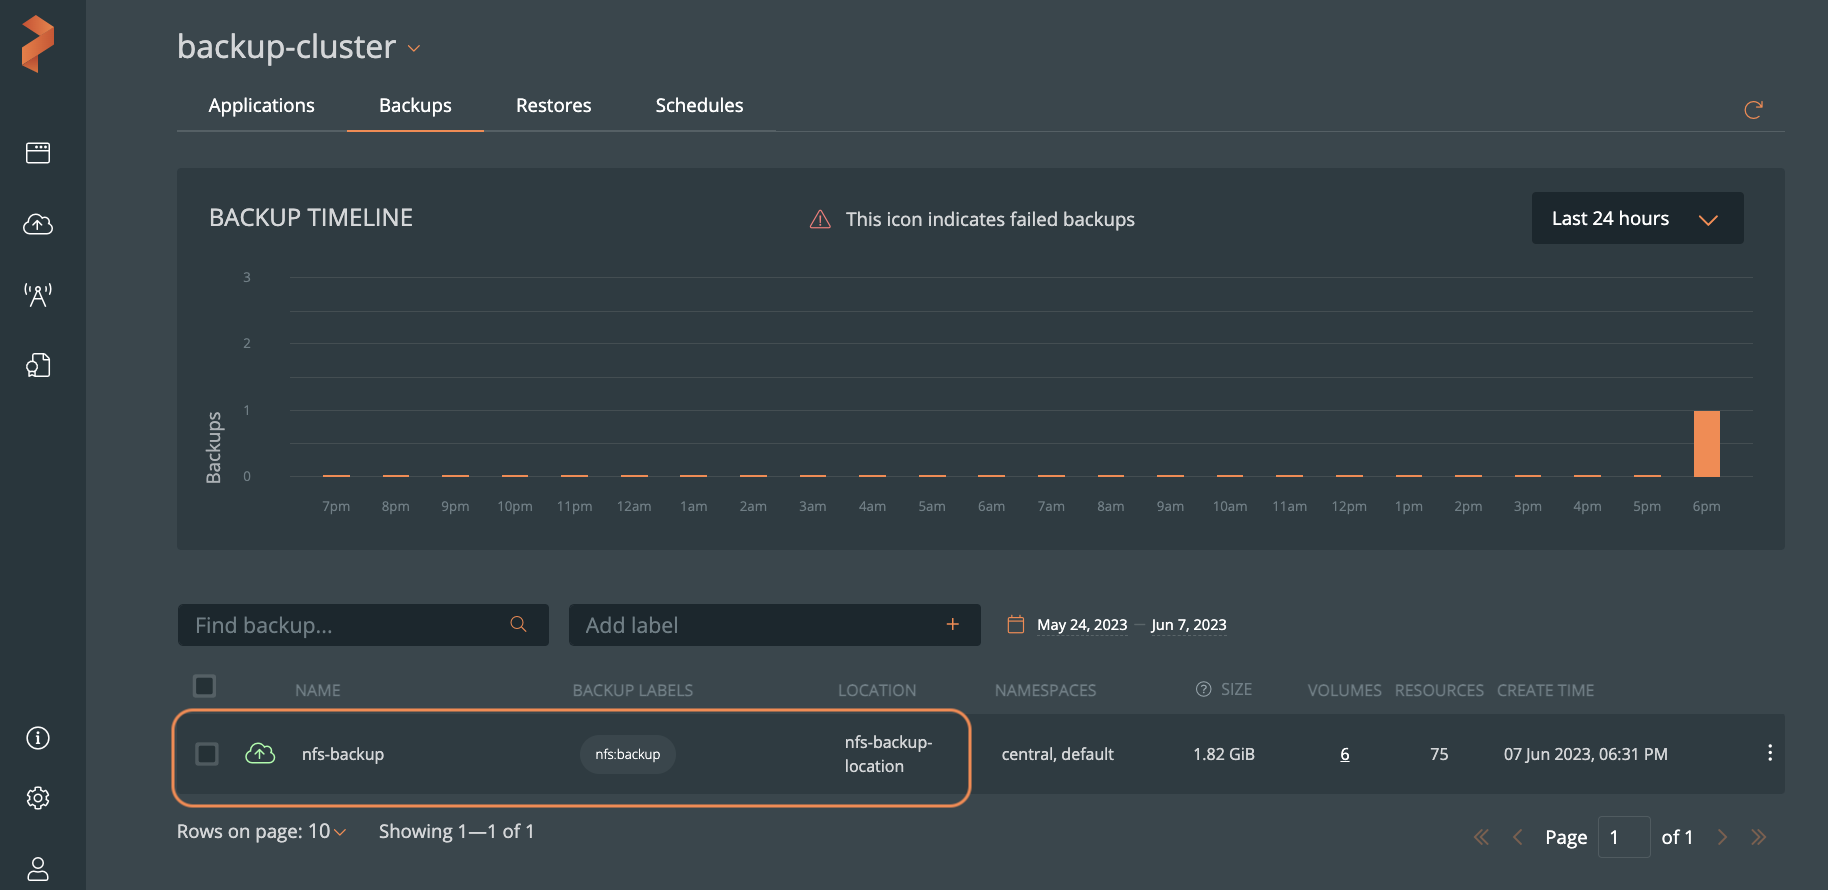
The newly created backup appears in the Backups tab of the application cluster page. For more information on creating a backup, refer to Create a Backup.
 note
noteNFS-based backup location supports generic, manual, and scheduled backups.
Related Topic